
Tutorial: custom PS5 Edge controller
Admin
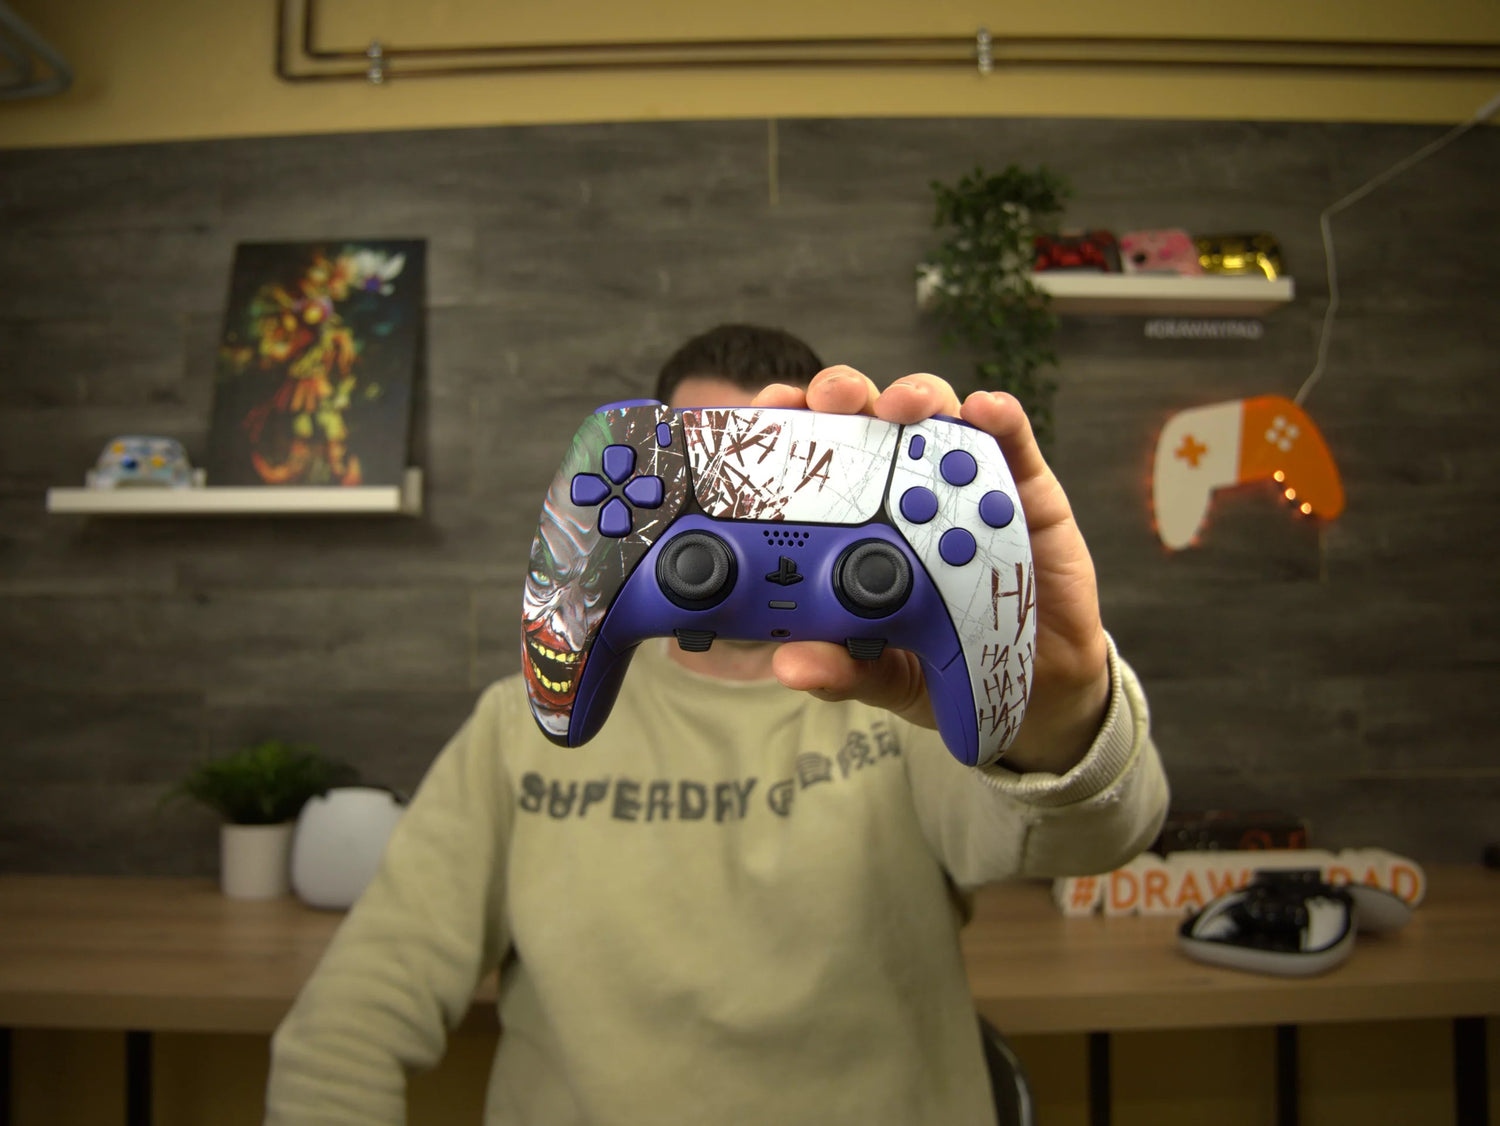
Would you like to customize your new PS5 Edge controller but you don't know how to do it? This tutorial is for you! Welcome to this tutorial to learn how to disassemble and reassemble your controller to have a custom PS5 Edge controller .
Before you begin, make sure you have the proper disassembly kit , which consists of a Phillips screwdriver and a tab, which you can find on our website. This disassembly kit is essential to facilitate the process and ensure that you can handle the components accurately and safely. Once you're equipped, you're ready to follow the steps to explore and customize your controller to your liking.
Disassembly
Step 1: Disassembling the surface controller
Use the removal kit to gently remove the central shell by sliding the tab provided for this purpose. Then, remove the metal tabs to extract the 2 joysticks using a plastic object or a screwdriver.
- Take the screwdriver and the tab.
- Using the tab, remove the central shell by sliding the tab.
- Remove the metal tabs using a plastic object or your Phillips screwdriver. These tabs hold the joysticks in place.
- You can now remove the 2 joysticks.


Step 2: Surface removal of the rear shell
To remove the back cover, use the tab to detach it at the paddles, and use the prying technique for the front triggers. Next, unscrew the screws at the back of the controller, below the triggers, and in the center of the controller. Remove the black screws, then gently remove the small spring with tweezers to remove the black plastic structure and unclip the back cover.
- Use the tab to remove the back cover located at the paddles (the lower back cover).
- Do the same for the front triggers, using leverage.
- There are 4 screws to remove: unscrew the 2 screws at the back of the controller as well as the one under the triggers.
- Unscrew the 3 screws at the back in the center of the controller.
- Just below, unscrew the 2 black screws.
- Using tweezers or something similar, remove the small spring to reveal a small black plastic structure.
- Remove the 2 new screws.
- Finally, unclip the rear shell


Step 3: Inside the controller
Use the screwdriver from the disassembly kit to remove the 4 screws holding the controller frame together. Remove the 2 small screws just above the battery and detach the black plastic end cap. Unscrew the screw under the battery and the 2 screws under the triggers. Disconnect the plugs connecting the triggers to the motherboard. Next, unscrew the 2 screws on the back and remove the battery by disconnecting the connection plug. Unscrew the screw under the battery and remove the two blue end caps connecting the paddles with tweezers. Use a pin to remove the rumble connectors by pulling them upwards. Finally, remove the plugs from the new motherboard at the top and bottom, making sure to keep them safe.
- Remove the 4 screws that hold the structure of your controller
- Above the battery, unscrew these 2 screws which are smaller than the previous ones
- Remove the black plastic tip.
- Remove the screw below the battery.
- Remove the 2 screws under the triggers.
- Once finished, you can remove the plugs that connect the triggers to the motherboard.
- When you have done this, unscrew the 2 screws that were behind.
- Remove the battery from its base then pull upwards with the connection socket
- Unscrew the screw underneath.
- Remove the two blue-tipped plugs that connect the two paddles using tweezers.
- Remove the vibrator connectors by pulling them upwards with your pin.
- Remove the connectors from the new motherboard: the bottom and top. Keep them to one side.


Step 4: Controller frame
Use the screwdriver to unscrew the two screws located at the top and in the middle. Remove the black frame from the controller. Also remove the two screws holding the joystick retaining tabs. Simply remove the rubber to recover all the buttons. Repeat the process for the rubber. Your controller is now completely disassembled!
- Remove the 2 screws at the top and the one in the middle.
- Now remove the black structure from the controller.
- Remove these two screws to remove the retaining tabs from your joysticks.
- To remove the buttons, simply peel off the rubber.
- Also remove the 2nd rubber on your case.
- The controller is finally disassembled!


Reassembly
Step 1: The Buttons
Take the gray rubber part of the new case and insert it, pushing it in with the screwdriver for a secure fit. Then, place your new buttons and add the second rubber part to ensure the buttons are securely in place. Repeat the same process for the directional pad.
- Put the gray rubber on your new shell, you can push with the screwdriver
- Next, insert your new buttons
- After that, we put back our 2nd rubber which holds the buttons
- Do the same for the directional cross


Step 2: Touchpad
For the touchpad, start by removing the small springs from the old touchpad and set them aside. Use the screwdriver to remove the two screws holding the touchpad in place, then use the lever to access it. Carefully use a cutter on all sides, then use the lever again to remove it. Simply place the new touchpad, letting it rest on the motherboard glue to hold it in place. Reverse the process, inserting the plug correctly into the notch provided. Finally, replace the two screws, the springs, the option, and the "share" button.
- Remove the small springs from your old touchpad and keep them to the side.
- Remove the two screws from the pad.
- Leverage to access the touchpad.
- To remove the touchpad, take a cutter and gently push it in on all sides, then pry it up to remove it.
- Take your new touchpad and simply place it. It will be held in place with glue on the motherboard.
- Repeat the reverse step, remembering to insert the plug into the notch provided for this purpose.
- Put back your two screws, springs and your option and your share.


Step 3: Put on the front shell
Start by replacing the shell over the touchpad, then replace the joystick retaining tab and screw it into place. Repeat the same process with the right shell, then replace the black structure, making sure to insert the plug into its notch. All that's left to do is screw everything back in place and you're done!
- We clip our case back onto our touchpad. Then, we put our joystick retaining tab back on, then screw it back on.
- We do exactly the same with our right shell as well as the second retaining tab.
- Finally, we replace the black structure, remembering to slide the plug into the notch.
- Then screw the 3 silver screws back in.
- Do the same with the two screws for the touchpad.


Step 4: Inside the controller
For the inside of the controller, start by replacing the motherboard by replacing a plug on the bottom left and a blue plug on the top left. Next, clip the battery pack and paddles onto the motherboard, then screw everything back in place. Don't forget the screw under the battery. Next, reconnect the vibrator connectors and the 2 paddles to the 2 blue plugs on the motherboard using tweezers. Finally, replace the microphone.
- We put our motherboard back, remembering to put a plug back at the bottom left and a blue one at the top left.
- Then, we put back our battery pack and pallet which we clip onto the motherboard.
- We screw 2 screws at the top and 2 screws below to hold this block.
- One last one to screw under our battery.
- Finally, we put the vibrator connectors back on.
- Reconnect your two paddles to the motherboard with your two blue connectors. Use a pair of tweezers.
- Put the microphone back on.


Step 5: Triggers
To disassemble the triggers, start by removing all the screws on both sides. Next, remove the plastics on each side, then remove the last plastic and the small iron bar using tweezers. Once the triggers are disassembled, reuse the plastic part of the original trigger and place it in the new one. Then insert the trigger onto the trigger and replace the iron bar. Make sure the small spikes match the wheel when reassembling the first part of the trigger. Replace the plastic pieces and screw them back on both sides. Finally, replace the triggers in their original position and reconnect the plugs. Screw in the 2 screws on each side to get your new triggers.
- Remove the 3 screws on one side and the other 2 on the other side.
- Remove the plastics from each side.
- Remove the 3rd plastic and a small iron bar that you can remove with tweezers.
- You can remove your trigger.
- Take the plastic part from the original trigger and put it in the new one.
- Re-insert your trigger on the trigger then put the metal bar.
- Replace the first part of your trigger.
- Pay attention to the small peaks: they must correspond to the roulette wheel.
- Put your two plastic pieces back together and screw all the screws back on each side.
- Finally, put your triggers back in their intended location, and remember to put the plugs back in to connect your triggers.
- Screw in the 2 screws on each side.


Step 6: Back Cover
To complete your custom controller, reconnect the battery, then secure your new back shell by installing a piece of plastic with a screw to hold it in place. Then use 4 small black pieces of plastic from your original shell to place them on the new one. Next, position the new shell on the back of the controller and screw everything back on. Finish by replacing the spring on the paddle back shell and pressing firmly on the walls to secure it in place.
- Put your battery back in by reconnecting it.
- We take our new back cover, we clip on a piece of plastic and put in a first screw to hold it in place.
- We then remove the screw from the original shell and reattach it to our new shell.
- Take the 4 small black plastic pieces from your original shell to put them on your new shell.
- Snap the new back cover onto the controller.
- Next, put all your screws back in: there are 5 of them.
- Continue by putting 2 screws back at the bottom.
- We then put the spring back on our plastic shell by fixing it to the back shell of the controller.
- We put the new back shell of the pallet on, pressing firmly.


Step 7: Front hull
Slightly lift the mini paddles to insert the joysticks, secure the front shell, then finish by replacing the 2 screws for R1 and L1 as well as our new triggers. And there you have it, your work is done!
- Lift up your little paddles for the joysticks.
- We insert the joysticks then close the small paddles.
- We fix the front hull.
- Then we finish by putting the 2 screws under the R1 and the L1 then we put back our new triggers.
- It's over!


Now you'll be able to assemble your custom PS5 Edge controller effortlessly! Feel free to check out the Edge disassembly tutorial for more info right here: