
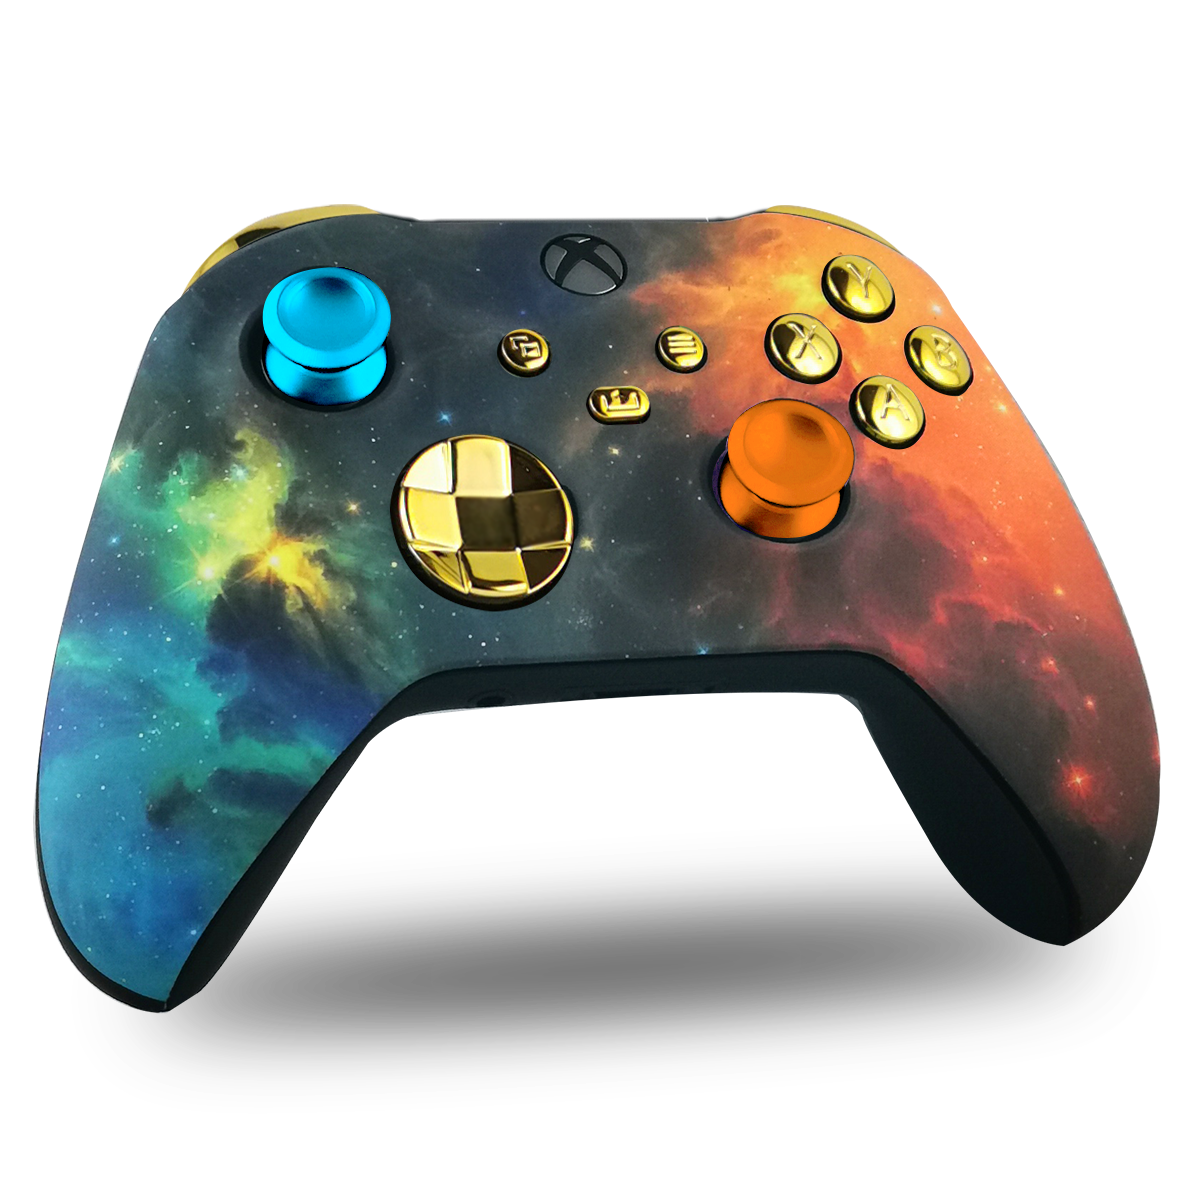
Customize Xbox Series Controller: The Tutorial
Admin

This tutorial will explain everything you need to know about how to "Customize Xbox Series Controller" and make customization easier. This quick and easy guide will teach you how to disassemble and reassemble your Xbox Series accessories and shells yourself.
How to tell the difference between an Xbox Series controller and your old Xbox One S/X controller?
To differentiate the Xbox Series controller from the Xbox One S or X , you just need to compare the ergonomics of the two controllers. Some new features are apparent, such as the USB-C port, a new "Share" button in the middle, and a directional cross that is now round, unlike that of the Xbox One X. Note that the grips of the Xbox Series are more pronounced at the back, with the addition of new grips on the triggers.

Part 1 “Customize Xbox Series Controller”: Disassemble your controller
Step 1: Remove the small rear grips
To begin, the first step is to remove the grips from the back of the controller. To do this, take a T6 Torx screwdriver and slide it between the trigger and the grip, levering it backward until it clicks. Then, insert your screwdriver and lever it forward. Then, do the same on the other side.

Step 2: Remove the front and back shell
Now that the grips are removed, you need to detach the front and back shell of the controller. To do this, use a T8 Torx screwdriver to unscrew the 5 screws, including the one under the label.

Step 3: Change the joysticks and the directional cross
Once your Xbox Series case is removed, simply pull the joysticks off the controller. For the directional pad , unhook the gray metal bracket that holds it in place. If this seems complicated, you can find a video explanation of this step below.
Step 4: Remove the LB and RB buttons
Now that the joysticks and D-pad are removed from your Xbox Series controller, you need to remove the LB and RB triggers. Simply pry up on either side of the main button and remove the cover. Then, unlock the triggers by removing them from their notches on the left and right sides of the controller. For those who are having trouble, the video is already fast-forwarded to the right moment, all you have to do is click!
Step 5: Change the LT and RT triggers (optional)
After that, to remove the LT and RT triggers, simply unscrew each screw. Then, reverse the process to reassemble them.

Step 6: Remove the motherboard (top part)
Once all the controller accessories are removed, move on to the motherboard. Start by unscrewing the two screws next to the vibrators, then slide your screwdriver underneath the motherboard and gently pry it loose. Be careful not to detach the white wires attached to the bottom of the motherboard. If in doubt, you can temporarily remove them from the top for easier handling.

Step 7: Remove the motherboard (lower part)
After detaching the outer part of the motherboard, all that's left to do is unscrew the 6 screws from the bottom part. Your motherboard is now completely free.

Step 8: Change the buttons
Once you've removed the suction cup that holds the buttons, you can swap them out freely. You can also remove and swap the Bluetooth button located on the top of the controller.

Part 2: Reassemble your controller
Step 9: Reassemble the motherboard
First, replace the suction cup to secure the buttons and then replace the motherboard correctly without leaving any play. Then screw the 6 screws back in and put the audio output back in its notch with the gold pins facing upwards.

Step 10: Put the LB and RB buttons back on
Once you have the motherboard back in place, reposition the LB/RB bar and clip it in place. After that, you can put the cover back between the triggers.

Step 11: Replace the joysticks and the directional pad
After repositioning the triggers, install the joysticks and the directional pad , along with its gray metal hoop around it to hold it in place. After that, if the pad clicks in all directions, you've succeeded.
Step 12: Replace the front and back shell
You have now replaced all the accessories , you can therefore replace the front and rear covers and then screw the 5 screws back in.

Step 13: Reassemble the grips
And finally the last step, put the rear grips back in place by clicking them, then replace the cover behind the controller to hide the rest.

The tutorial for removing the front shell of your controller is complete, if you prefer a more fun tutorial, we invite you to follow our tutorial on Youtube